

Views: 143 Author: Site Editor Publish Time: 2026-08-19 Origin: Site


Stainless steel presents an unforgiving substrate for modern fabricators. Poor weld finishing severely compromises demanding aesthetic requirements. You will often see these high visual standards in #4 sanitary finishes. Furthermore, improper finishing directly degrades the inherent corrosion resistance of the metal itself.
Aggressive grinding frequently leads to severe heat tint, localized warping, and deep surface gouging. These common mistakes translate directly into high scrap rates and demanding rework cycles. Fabricators often struggle to maintain tight geometric tolerances when they use incorrect blending techniques.
This guide outlines a systematic, compliance-aware approach to structural blending and weld seam removal. We will focus closely on abrasive selection, rigorous heat management, and daily workflow efficiency. You will discover exactly how to protect your base material while achieving a flawless, repeatable final finish.
Effective stainless steel finishing requires a multi-stage approach: heavy material removal, intermediate blending, and final grain matching.
Controlling heat input during grinding is critical to preventing metallurgical damage and carbide precipitation.
Transitioning to a nylon sanding disc for the blending phase significantly reduces the risk of undercutting while creating a uniform, easily matched surface.
Selecting "contaminant-free" (iron/sulfur/chlorine-free) abrasives is mandatory to prevent secondary rusting and ensure successful surface passivation.
Stainless steel behaves very differently from standard carbon steel alloys. We must understand these technical barriers completely before touching a grinder to metal. Let us examine the main hurdles operators face during the surface finishing process.
Stainless steel dissipates heat very poorly. This low thermal conductivity traps high temperatures directly at the grinding site. Excessive friction quickly causes "blueing" or heat tint on the surface. This thermal damage can permanently warp the base material. It also degrades structural integrity by altering the local microcrystalline structure. Overheating destroys the protective chromium oxide layer. This exposes the underlying metal to future corrosion.
You must rigorously avoid standard carbon steel abrasives. They actively embed free iron particles deep into the stainless matrix. This embedded iron causes localized oxidation or rust weeks after fabrication. Industry standards require strict separation of tools. Always verify your tools carry a certified INOX rating. An INOX rating guarantees the abrasive remains free of iron, sulfur, and chlorine.
Many operators rely heavily on rigid grinding wheels. They mistakenly use them for the entire finishing sequence. This over-reliance often results in accidentally removing valuable base metal. It ruins tight-tolerance geometries and compromises part strength. We avoid this trap by switching abrasive types midway through the process.
Monitor surface temperatures constantly during operation.
Keep dedicated abrasive tools strictly for stainless applications.
Use light to moderate pressure to prevent excessive friction.
Never force a dull abrasive to cut by pressing harder.
Heavy removal requires absolute precision and physical discipline. We want to reduce the weld profile rapidly. However, we must not damage the delicate parent metal underneath. This step sets the foundation for the entire finishing sequence.
Select specialized ceramic or zirconia flap discs. Operators typically choose 40 to 60 grit for high stock removal. We strictly avoid hard bonded grinding wheels here. Bonded wheels generate too much heat unless the weld bead is exceptionally large. Ceramic grains micro-fracture continuously during active use. They constantly expose sharp cutting edges. This self-sharpening action keeps the workpiece remarkably cool.
Grind strictly on the high weld bead itself. Do not let the abrasive disc touch the surrounding parent metal. Keep the angle grinder moving constantly. Lingering in one spot causes rapid heat buildup. Maintain an optimal grinding angle. Most flap discs require a 10 to 15-degree angle of approach. This angle maximizes the cutting rate while minimizing surface friction.
Stop grinding when the weld sits nearly flush. Leave about 1/16th of an inch of material above the base metal. You must never attempt to blend using this aggressive abrasive. The deep, aggressive scratches will become impossible to remove later.
Mount a clean 40-grit ceramic flap disc on your grinder.
Approach the prominent weld bead at a precise 15-degree angle.
Apply moderate, consistent pressure along the weld axis.
Stop immediately when the bead sits slightly proud of the surface.
We now transition from aggressive grinding to careful surface integration. This phase ultimately determines the final visual quality of your workpiece. It requires a completely different type of abrasive medium.
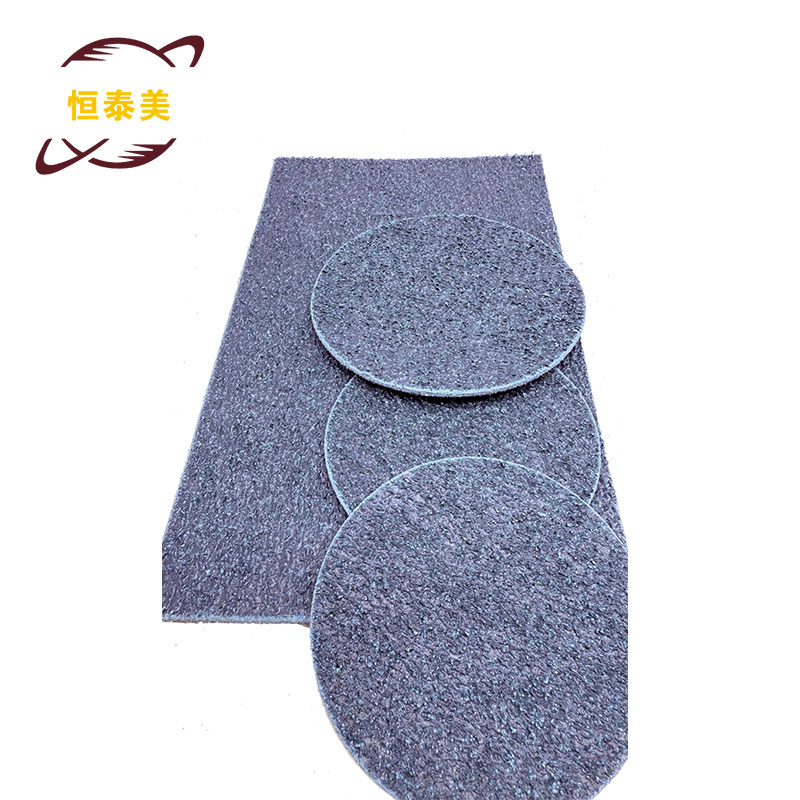
Transitioning to a Nylon Sanding Disc marks a critical hinge point. It bridges the massive gap between crude removal and precision finishing. These non-woven abrasives perform exceptionally well on hard alloys. They prepare the metal for final polishing.
Conformability: The three-dimensional, open-web structure compresses easily under pressure. This allows the abrasive to follow the metal's contours perfectly. It accomplishes this without flattening curved surfaces or altering critical profiles. You maintain the original shape of your fabrication.
Forgiveness: The pliable webbing naturally limits stock removal. It makes it nearly impossible for an operator to accidentally gouge the base material. You gain a massive safety margin against costly, irreversible errors. This forgiveness proves vital for less experienced operators.
Thermal Control: The open-web design allows excellent air circulation. It aggressively reduces surface temperatures compared to tightly coated abrasives. The flowing air dissipates heat away from the friction zone. This prevents the dreaded blue heat tint from forming.
Work across the remaining weld seam using tight, overlapping passes. This motion erases the deep scratches left by step one. You will smoothly feather the rough edges directly into the parent metal. Reduce your grinder speed if possible. Slower speeds prevent the nylon fibers from melting onto the hot metal. Keep your hand motions smooth and highly predictable.
The structural blending phase is now completely finished. We must focus entirely on the visual appearance of the metal. Final finishing demands patience and strict attention to grain direction.
The weld seam now sits perfectly level. You have seamlessly blended it into the surrounding area. Next, you must apply the final finish. Many industries require a standard #3 or #4 brushed finish. Food processing and medical industries mandate these sanitary finishes. A proper finish prevents bacteria from hiding inside deep microscopic scratches.
Use fine-grade non-woven belts, interleaf flap wheels, or finishing drums. Your choice depends entirely on the specific tool profile. Linear burnishers work best for large flat panels. They naturally create perfectly straight lines. Angle grinders excel in tight corners or complex geometries. Select tools rated for high-precision grain matching.
Pull the abrasive in a single, unidirectional motion. This technique perfectly matches the factory grain of the surrounding stainless steel. Never use a circular motion for a brushed finish. Maintain consistent, even pressure throughout the entire pass. Uneven pressure causes visible banding or dark shadow lines on the surface. Check your work frequently under bright, directional lighting.
Process Step | Primary Goal | Recommended Abrasive | Heat Risk Level |
|---|---|---|---|
Heavy Removal | Reduce weld mass quickly | Ceramic or Zirconia Flap Disc (40-60 Grit) | High |
Surface Integration | Feather edges, remove deep scratches | Non-Woven Nylon Disc | Medium |
Final Finishing | Match factory grain pattern | Interleaf Flap Wheel or Finishing Drum | Low |
Choosing the right surface conditioning tools impacts your entire fabrication workflow. We must carefully evaluate how different abrasives affect production scalability. The right tools drastically reduce your daily scrap rates.
Non-woven nylon products drastically reduce the learning curve. New fabricators often struggle to control aggressive flap discs. The forgiving nature of open-web discs mitigates this severe risk. You eliminate the danger of ruining expensive stainless components. You protect your valuable parts during the critical final fabrication stage. Training new employees becomes significantly safer and much faster.
Many metal shops rely on a single-disc "grind-and-pray" method. Operators try to do everything with one tool. This outdated approach yields highly inconsistent results. We highly recommend moving to a standardized three-step process. First, you remove. Second, you blend. Third, you finish.
This standard operating procedure reduces overall cycle times dramatically. It standardizes aesthetic output across multiple operators and different shifts. We build reliability directly into the daily workflow. We achieve this by restricting aggressive tools to step one only. Operators perform much better when the abrasive naturally limits the damage they can inflict.
Separating the heavy removal phase from the delicate blending phase remains absolutely critical. You simply cannot achieve a flawless sanitary finish using a single grinding tool. The physics of stainless steel demand a phased, specialized approach.
Utilizing a non-woven nylon sanding disc reliably protects your base material. It actively controls heat buildup and prevents severe part warping. This intermediate step perfectly bridges the gap to a flawless final finish. It guarantees a smooth transition between rough grinding and final polishing.
Take time today to evaluate your current abrasive stack. Request a sample of high-performance surface conditioning discs. Consult directly with an abrasive specialist to optimize your specific finishing standard operating procedure. Upgrading your daily workflow eliminates scrap and boosts your overall shop efficiency.
A: Excessive heat generation causes this blue discoloration, known as heat tint. It happens due to excessive operator pressure, using worn abrasives, or selecting the wrong disc type. Hard bonded wheels trap heat quickly. You must use open-web or self-sharpening ceramic abrasives to keep the workpiece cool and prevent metallurgical damage.
A: Absolutely not. Using the same discs causes severe cross-contamination. Carbon steel leaves free iron particles embedded in the abrasive. If you use that disc on stainless steel, it embeds the iron into the surface, causing rust. Always require INOX-rated, iron-free abrasives for your stainless projects.
A: You must run them significantly slower than standard grinding wheels. We recommend optimal speed ranges between 3,000 and 6,000 RPM, depending entirely on the disc diameter. Running them faster generates extreme friction. This excess heat will literally melt the nylon webbing and smear it permanently onto your metal.


